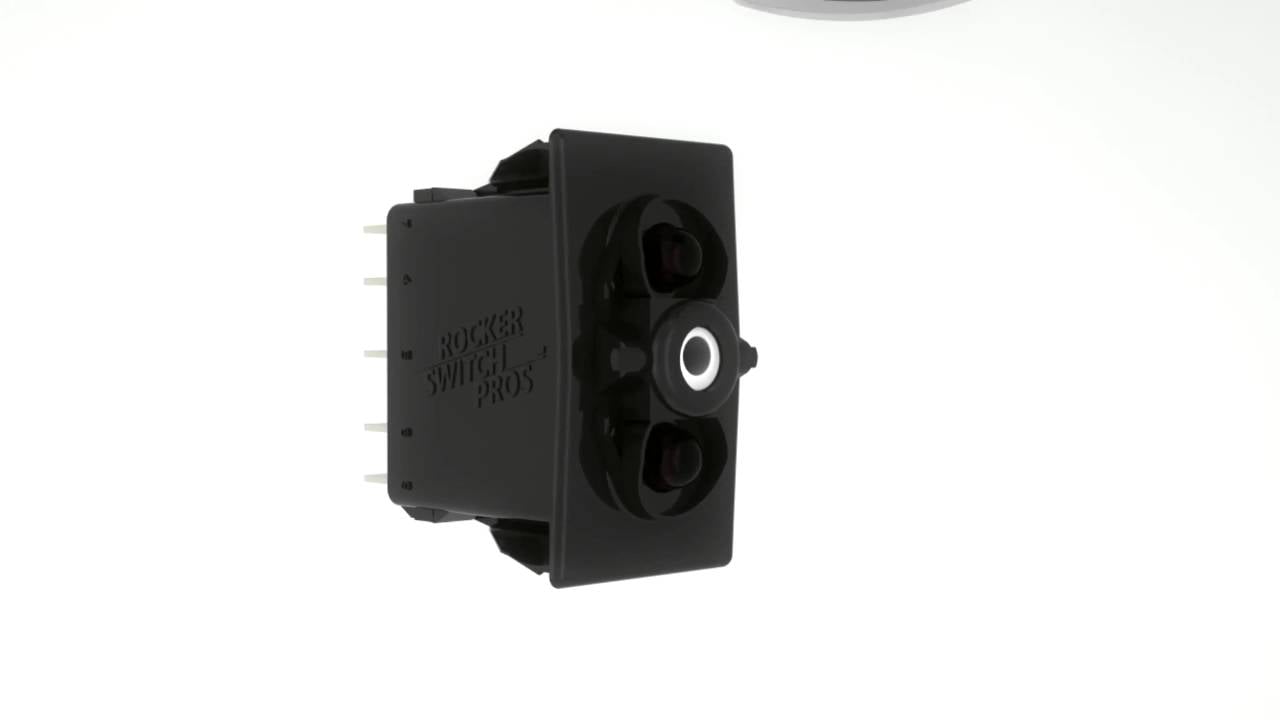
How to Remove a Rocker Cover (Actuator) from the switch body
The cover part of a rocker switch is called an actuator. It snaps onto the switch body and creates a complete unit. These actuators snap on there pretty tight so it doesn’t accidentally fall off.
But it’s really common (in fact, advantageous) to move around, swap and replace actuators. When you’re trying to replace your grubby old covers with one of our new custom actuators you will need to remove the old ones without breaking them.

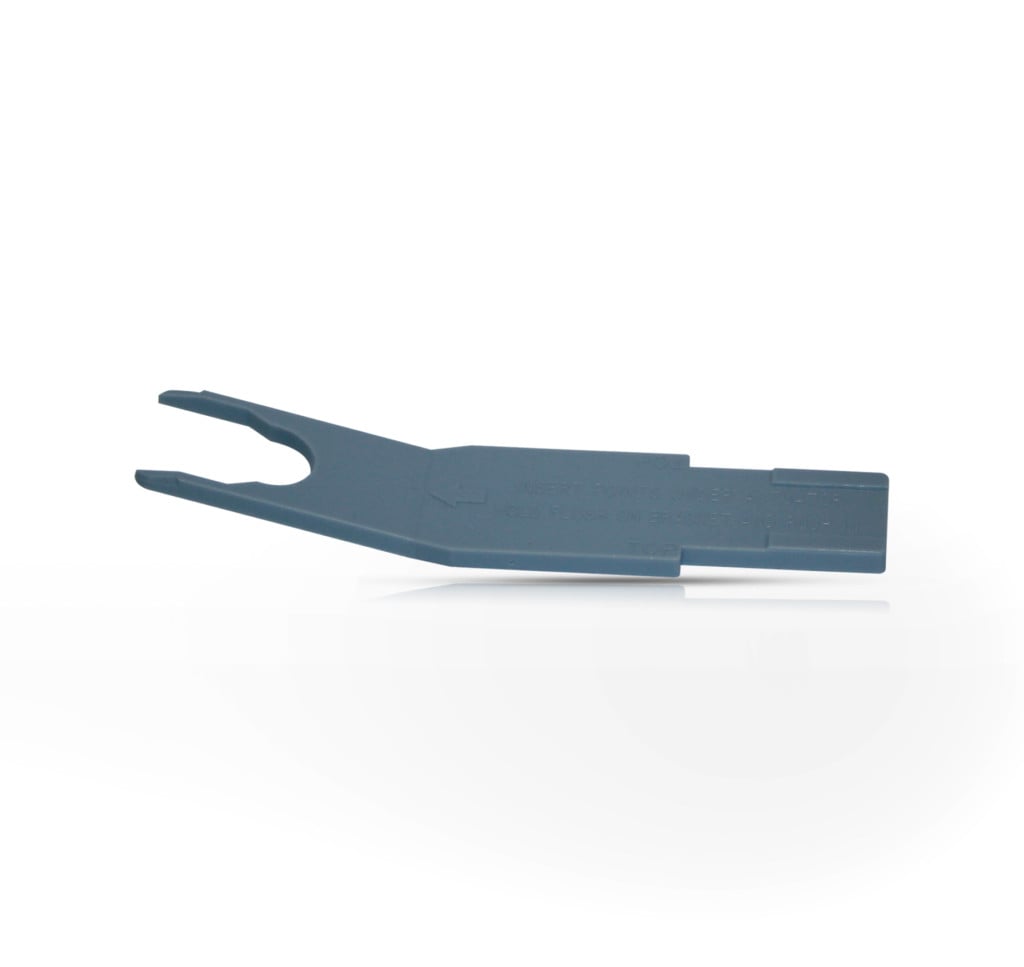
Switch Actuator Removal Tool
Luckily, our friends at Carling made an actuator removal tool specifically for this purpose. It slides under the actuator (the side that’s UP), and the small prongs push back the latches on either side and it pops off!
Hold the tool flush along the base of the switch body
You’ll want to hold the tool flush along the base of the switch body, and push toward the center. It’s really quite easy, and intuitive once you have it in your hand.
Switch Actuator Removal Video
It’s really very simple, but here’s a short video showing how to remove an old actuator and replace it with one of our custom etched rocker switch covers.
Cover Removal Without the tool?
In a pinch you can pull the the actuator off by hand… you really need to pull hard. With a brand new switch & actuator you can usually do this once or twice without damage, but we don’t recommend it.
Can cause the actuator prongs – or even worse, the switch body catches – to break off
This can cause the actuator prongs – or even worse, the switch body catches – to break off, then you’ll have to replace them for the actuator to seat correctly.
Putting the Actuator Back on the Switch Body
Once you have the old rocker cover, putting a new actuator on is a piece of cake and required no tools. Simply insert the little prong on the back of the actuator into the hole in the center of the switch body and press the actuator down firmly on both sides.
Requires no Tool
You will fill it “click in” place twice, once on the left, and once on the right. From here you can pop them on and off to swap or replace labels as needed.

Removing a Switch From a Mounting Panel
One final note, if you’re using our snap-together switch mounting panels… which is a great way to install a row of rocker switches if you don’t already have CNC cut holes for them.
You’ll need two Actuator Removal Tools
Once you pop a rocker switch into the mounting panel it’s there, forever. Very hard to remove. BUT, the back side of the actuator removal tool has groves made specifically to remove the switch from the mounting panel. You’ll need two actuator removal tools, and slide them in from the back, on the top and bottom of the switch.
Press both tools in firmly toward the switch, and the latches will be depressed, and the switch will slide right out.